BMW TPS Sensor Adapter for Mazda Miata NA6 NB2 (2001-2005) Intake Manifold

BMW TPS Sensor Adapter for Mazda Miata NA6 NB2 (2001-2005) Intake Manifold

$10.95
Sale price  $10.95 Regular price 
Skip to product information
BMW TPS Sensor Adapter for Mazda Miata NA6 NB2 (2001-2005) Intake Manifold

BMW TPS Sensor Adapter for Mazda Miata NA6 NB2 (2001-2005) Intake Manifold

$10.95
Sale price  $10.95 Regular price 
This is an adapter for fitting a BMW Throttle Position Sensor on an NA6 1990-1993 Mazda Miata (manual transmission). Most adapters (including the one from FlyinMiata) are designed to cover the column of the shaft that the sensor connects to. Unfortunately, that adds height over the stock sensor. This is adapter for lowering the profile so that the BMW sensor can fit in non-stock applications (like using an NA6 manual throttle body on a 2001-2005 manifold) without the sensor contacting the valve cover. 

Note: this adapter requires modifying (cutting) the protruding shaft for the sensor. Ideally this is done with a cutting wheel. 

Note 2: Only tested this in combination with the FlyinMiata throttle body adapter.
https://www.flyinmiata.com/fm-throttle-body-adaptor.html

Note 3: This is heavily based on the FlyinMiata TPS adapter for NA6
https://www.flyinmiata.com/default/tps-upgrade.html

Note 4:If you need the sensor, it's BMW part number 13631726591

Installation:

Step 1: Throttle Body Prep

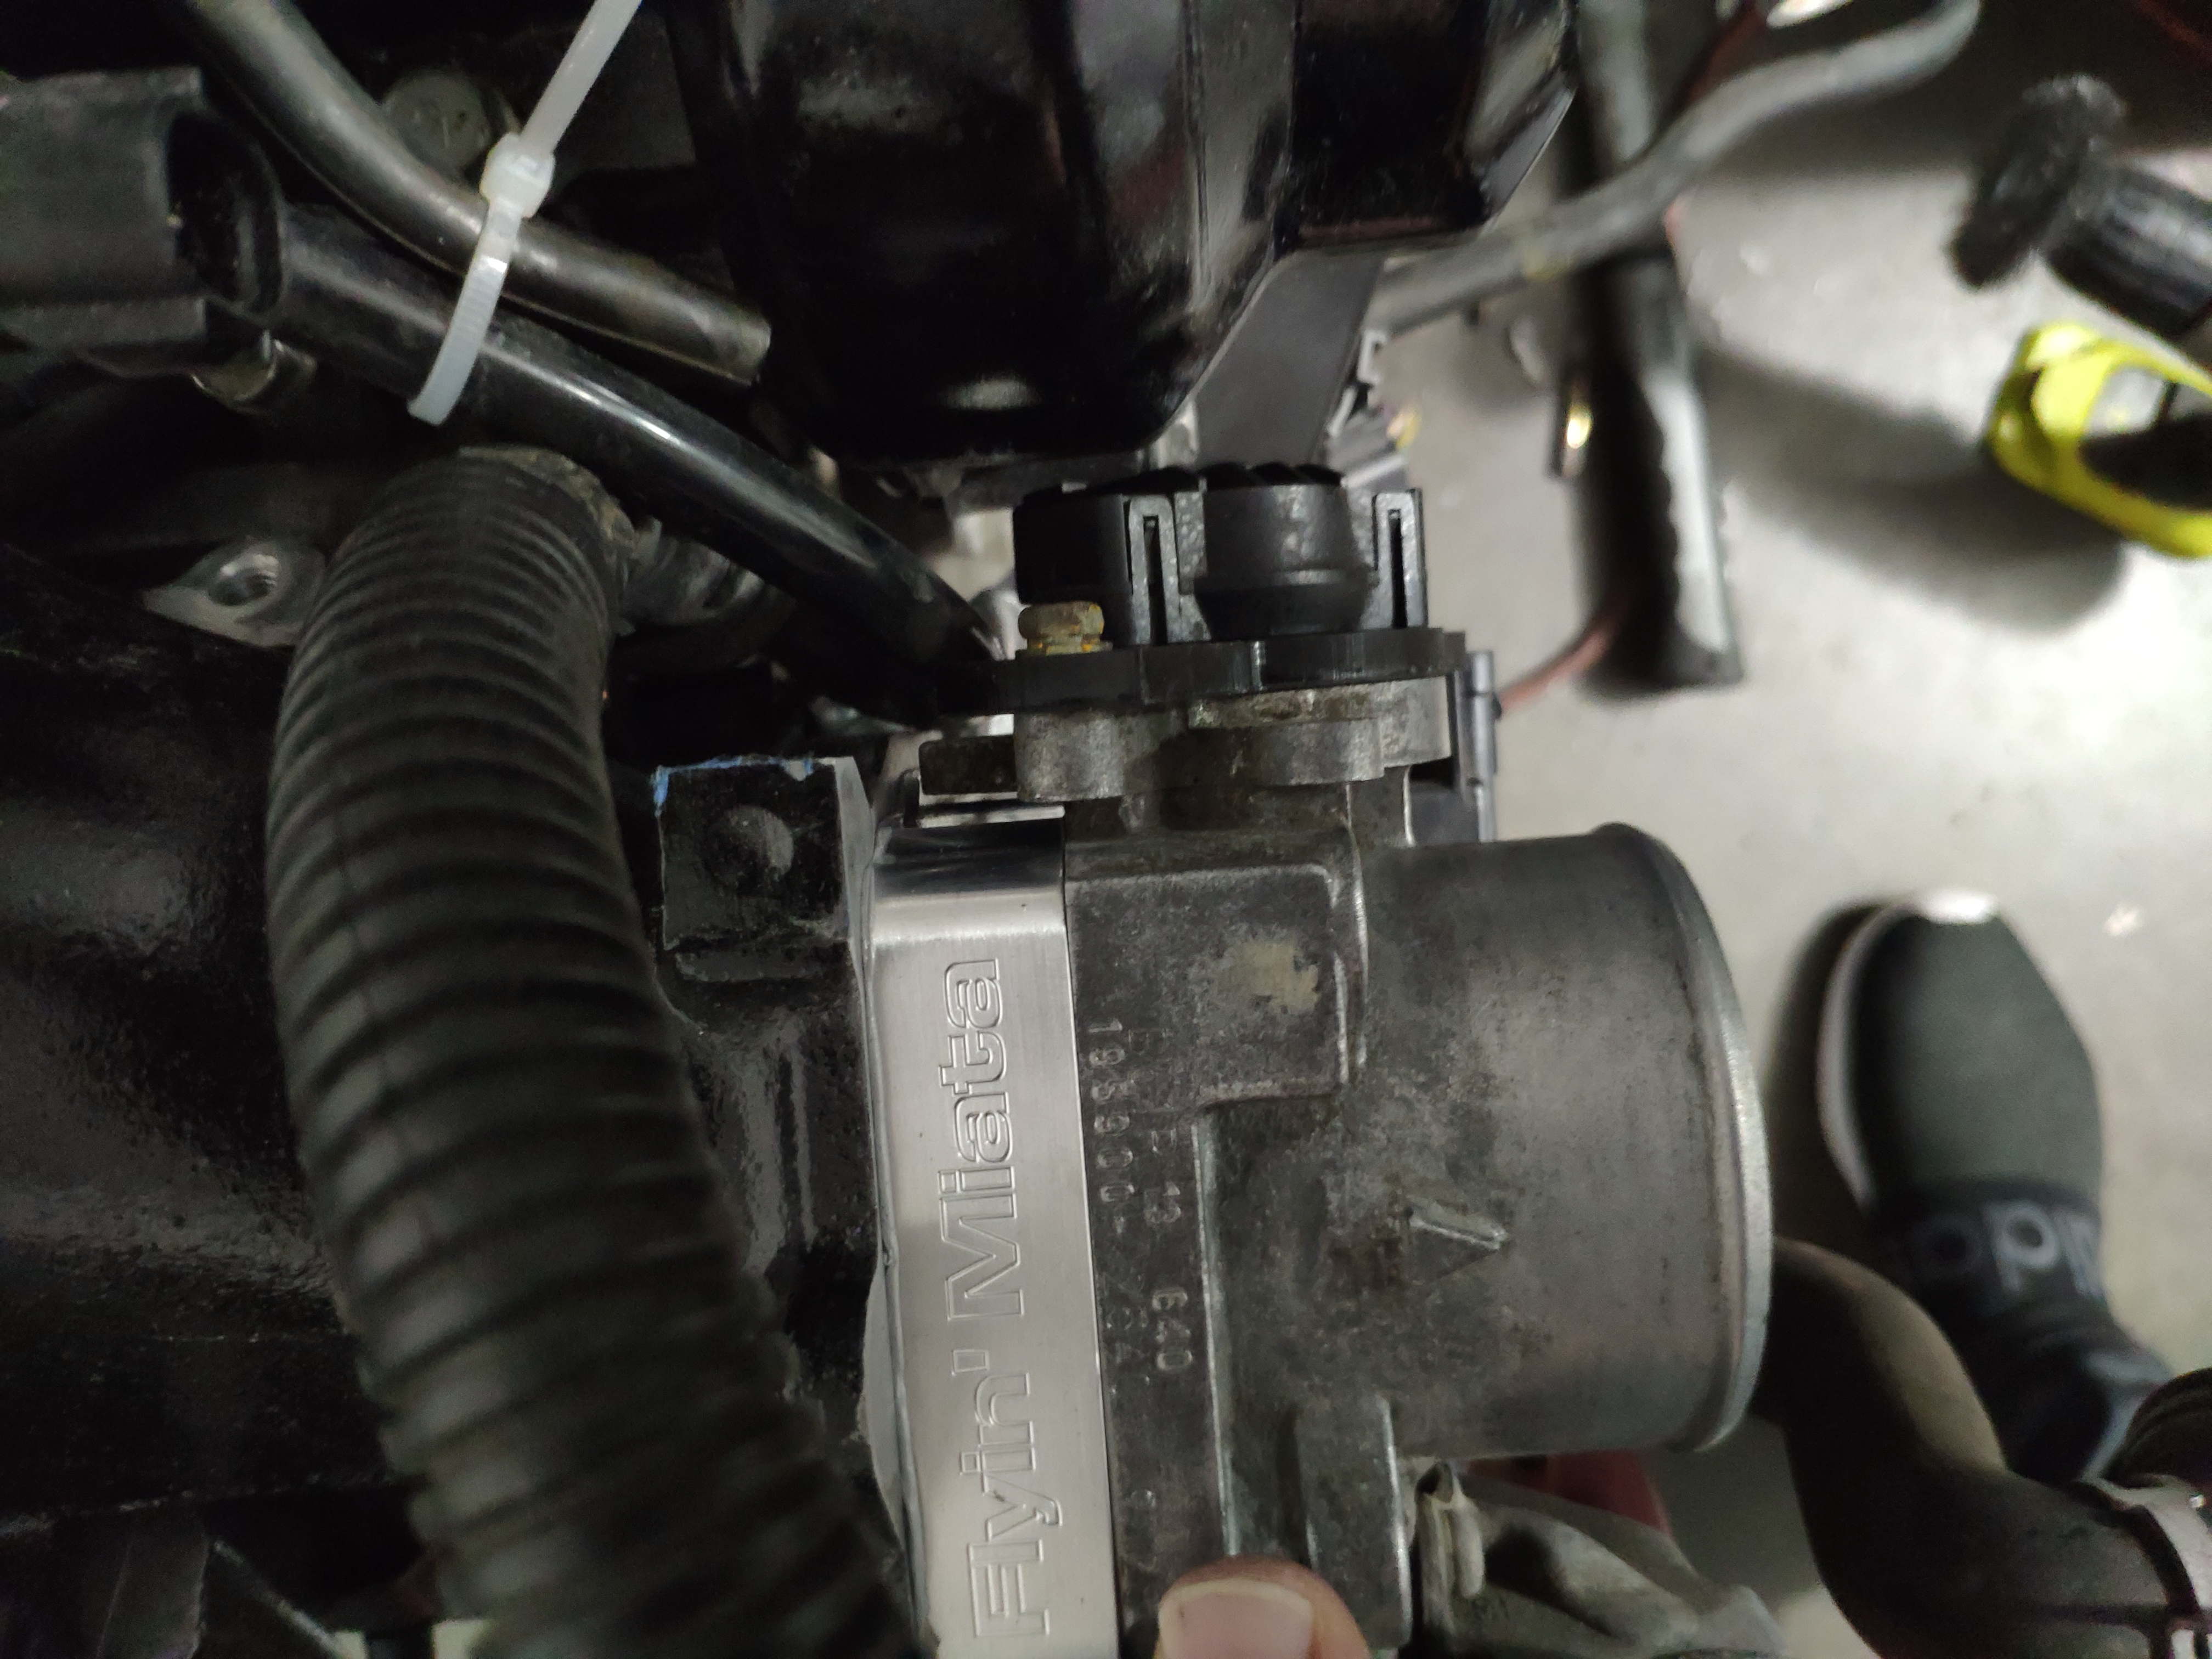
Remove the old sensor. At this point, you may want to take precaution so that you don't get dirt or metal shavings in the throttle body.

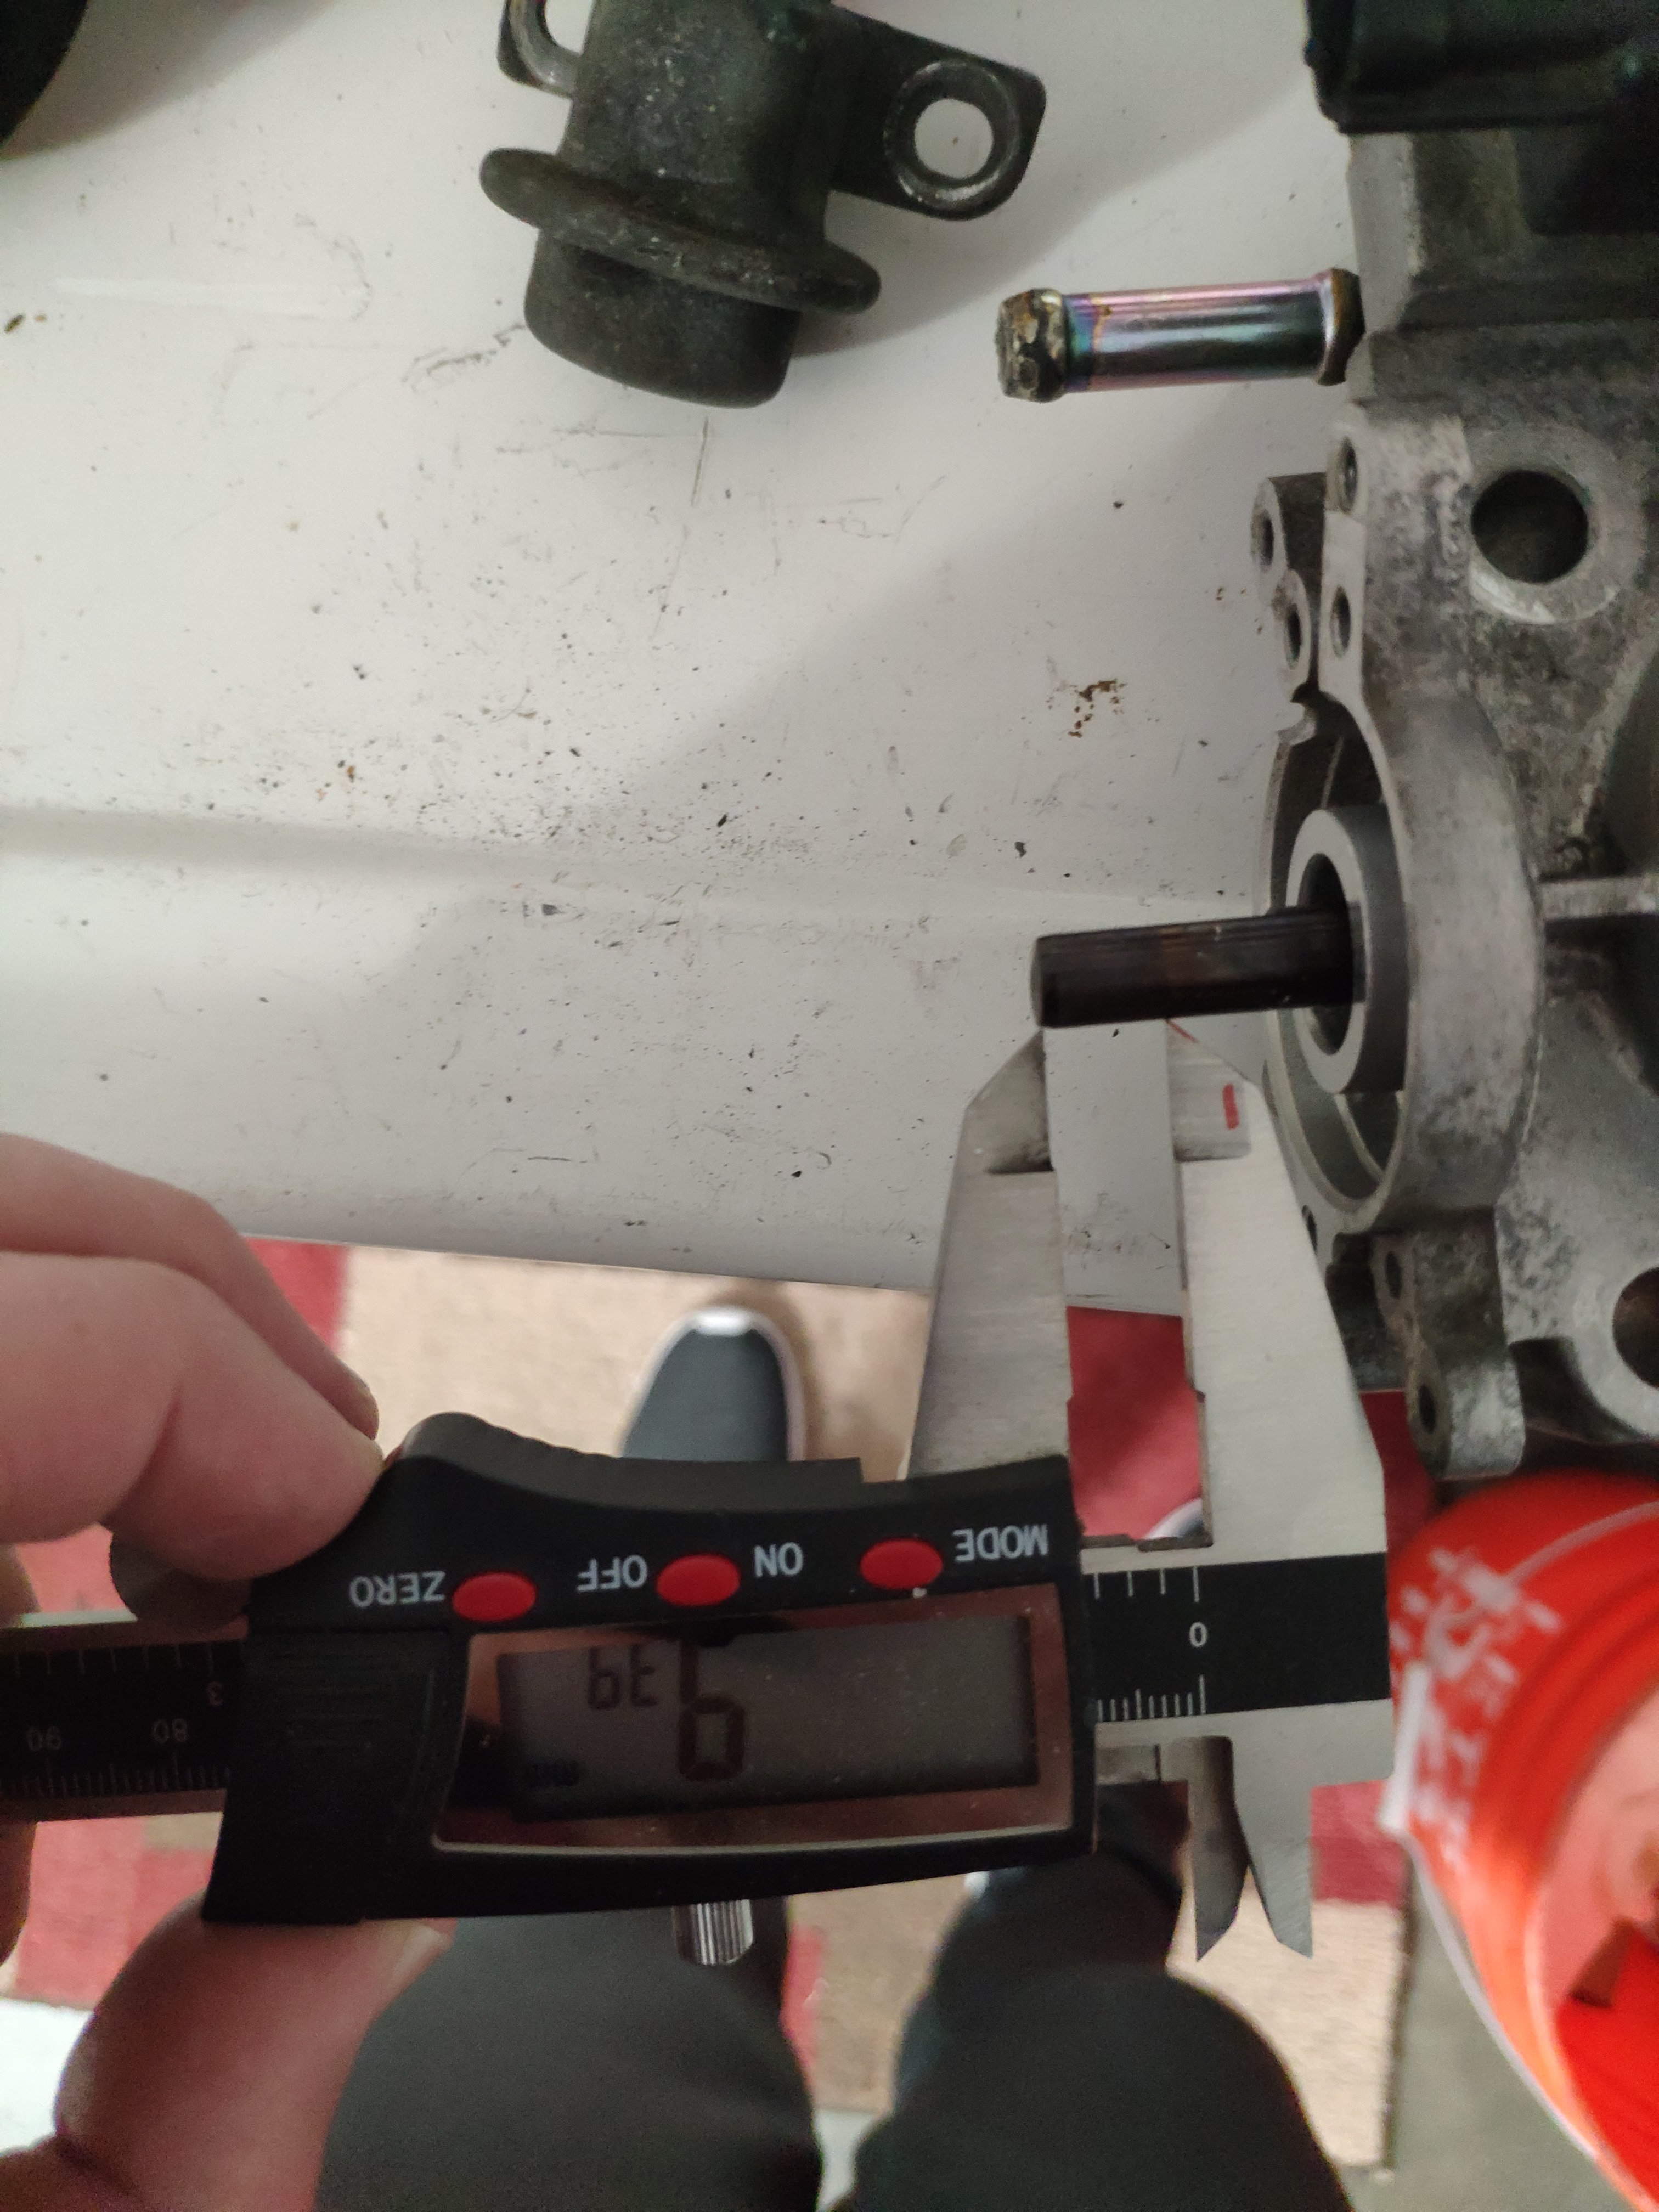
Measure out 10mm to remove from the shaft. Mark it with a paint pen, marker, or tape. Cut it off with a cutting wheel and use a file to remove any sharp edges.

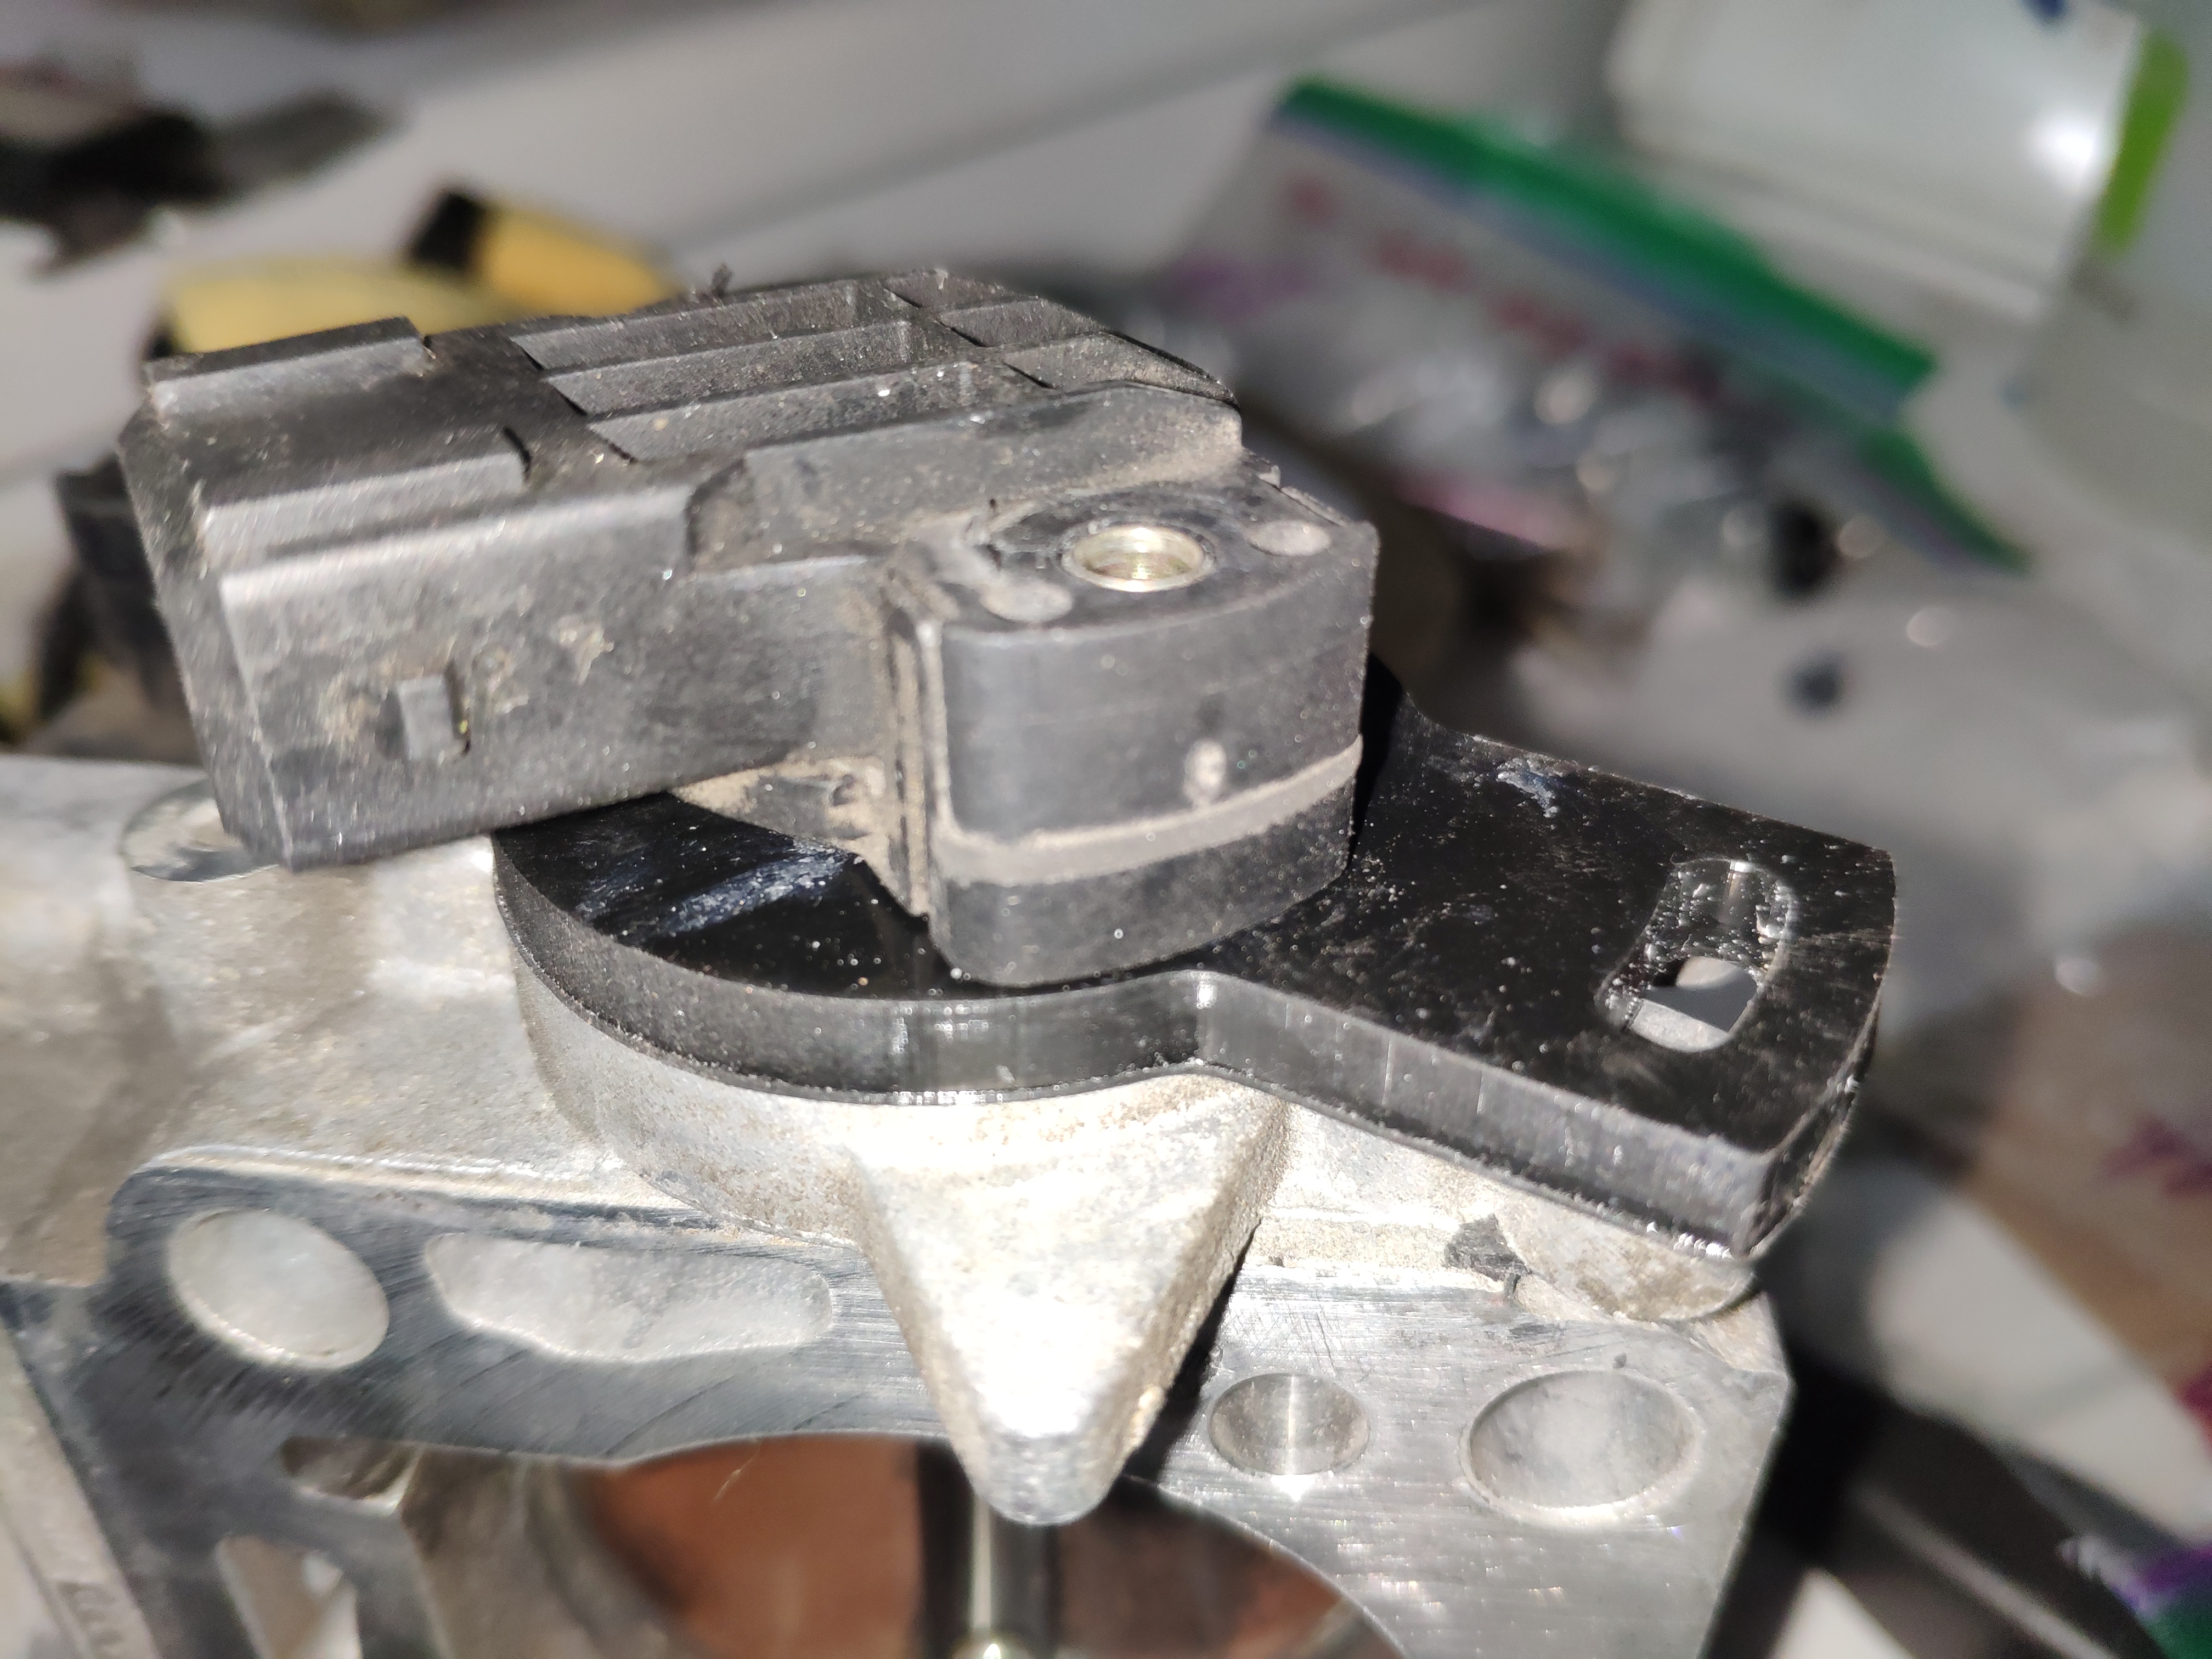
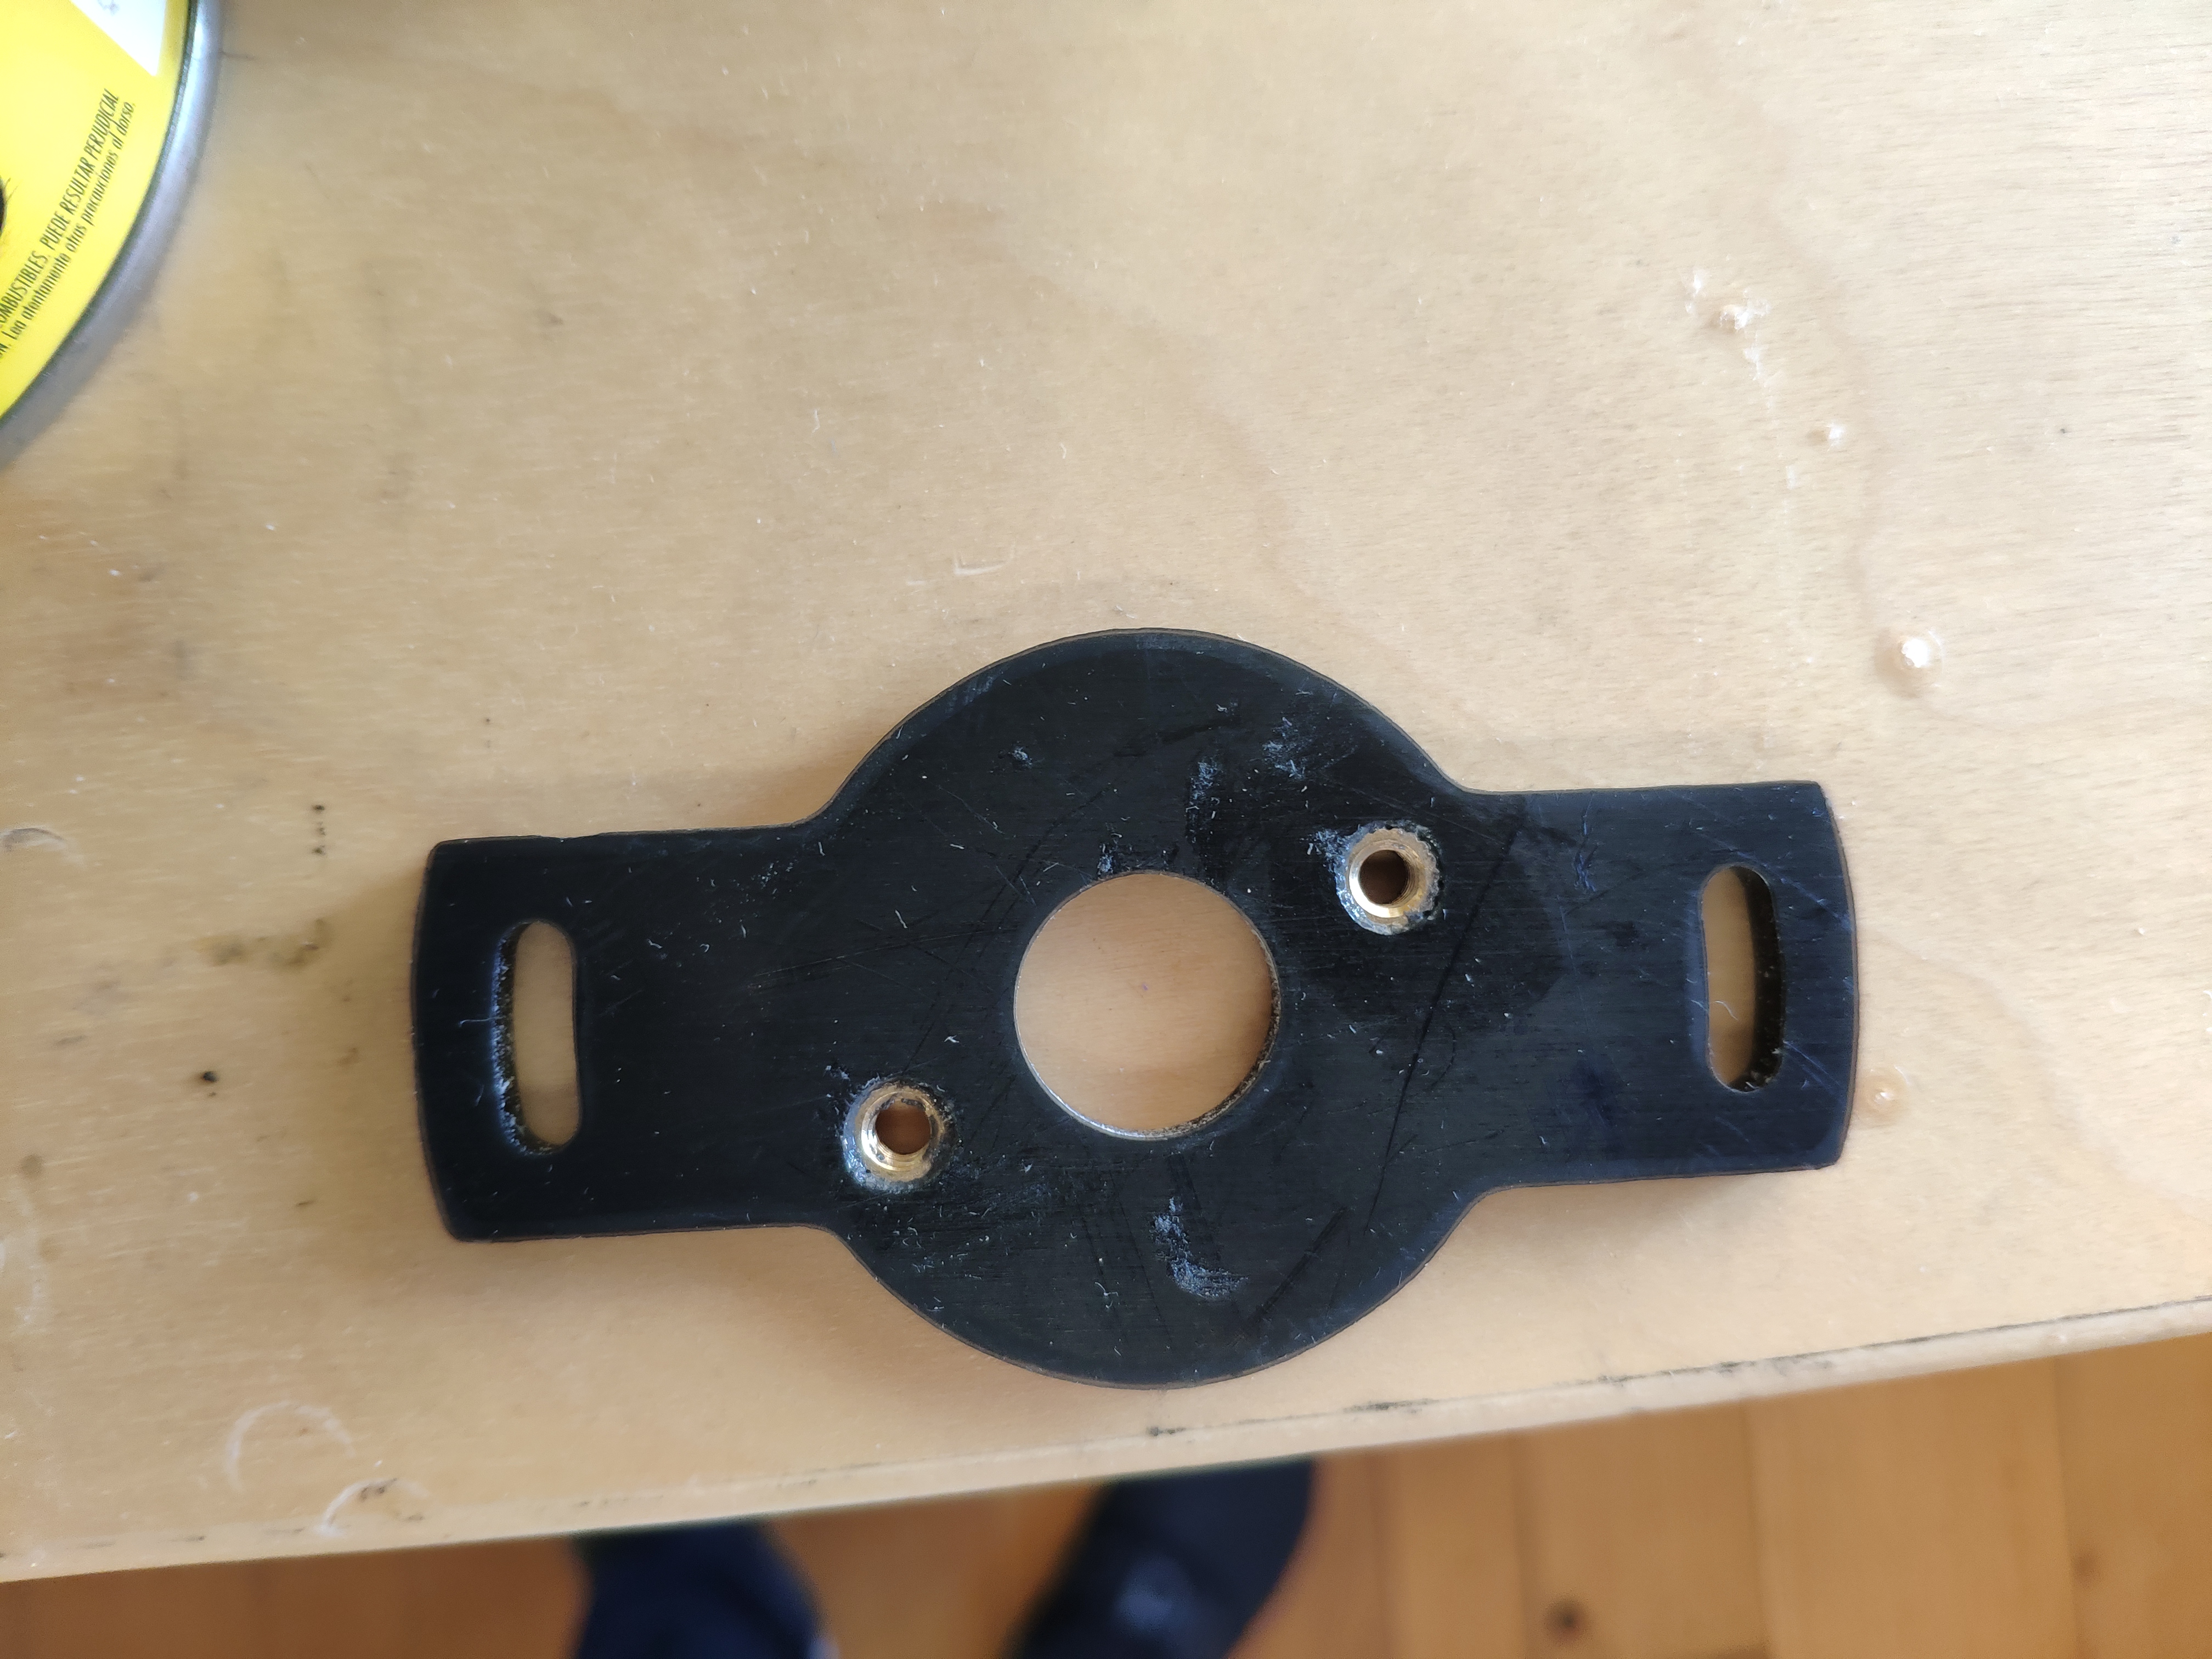
Step 2: Post Processing - Sensor mounting threads

I've kept the holes somewhat small for the sensor mount. Those are the two small hole at 25 degrees off-axis from the centerline of the adapter.

You should either print threads inside those holes or uses threaded inserts. I used M4 inserts. I had to drill out the holes a little to fit the inserts and used some epoxy (PC-7) to keep them in. If you are using inserts, make sure they are 4mm or less in height so that they fit flush inside.

Step 3: Test fit

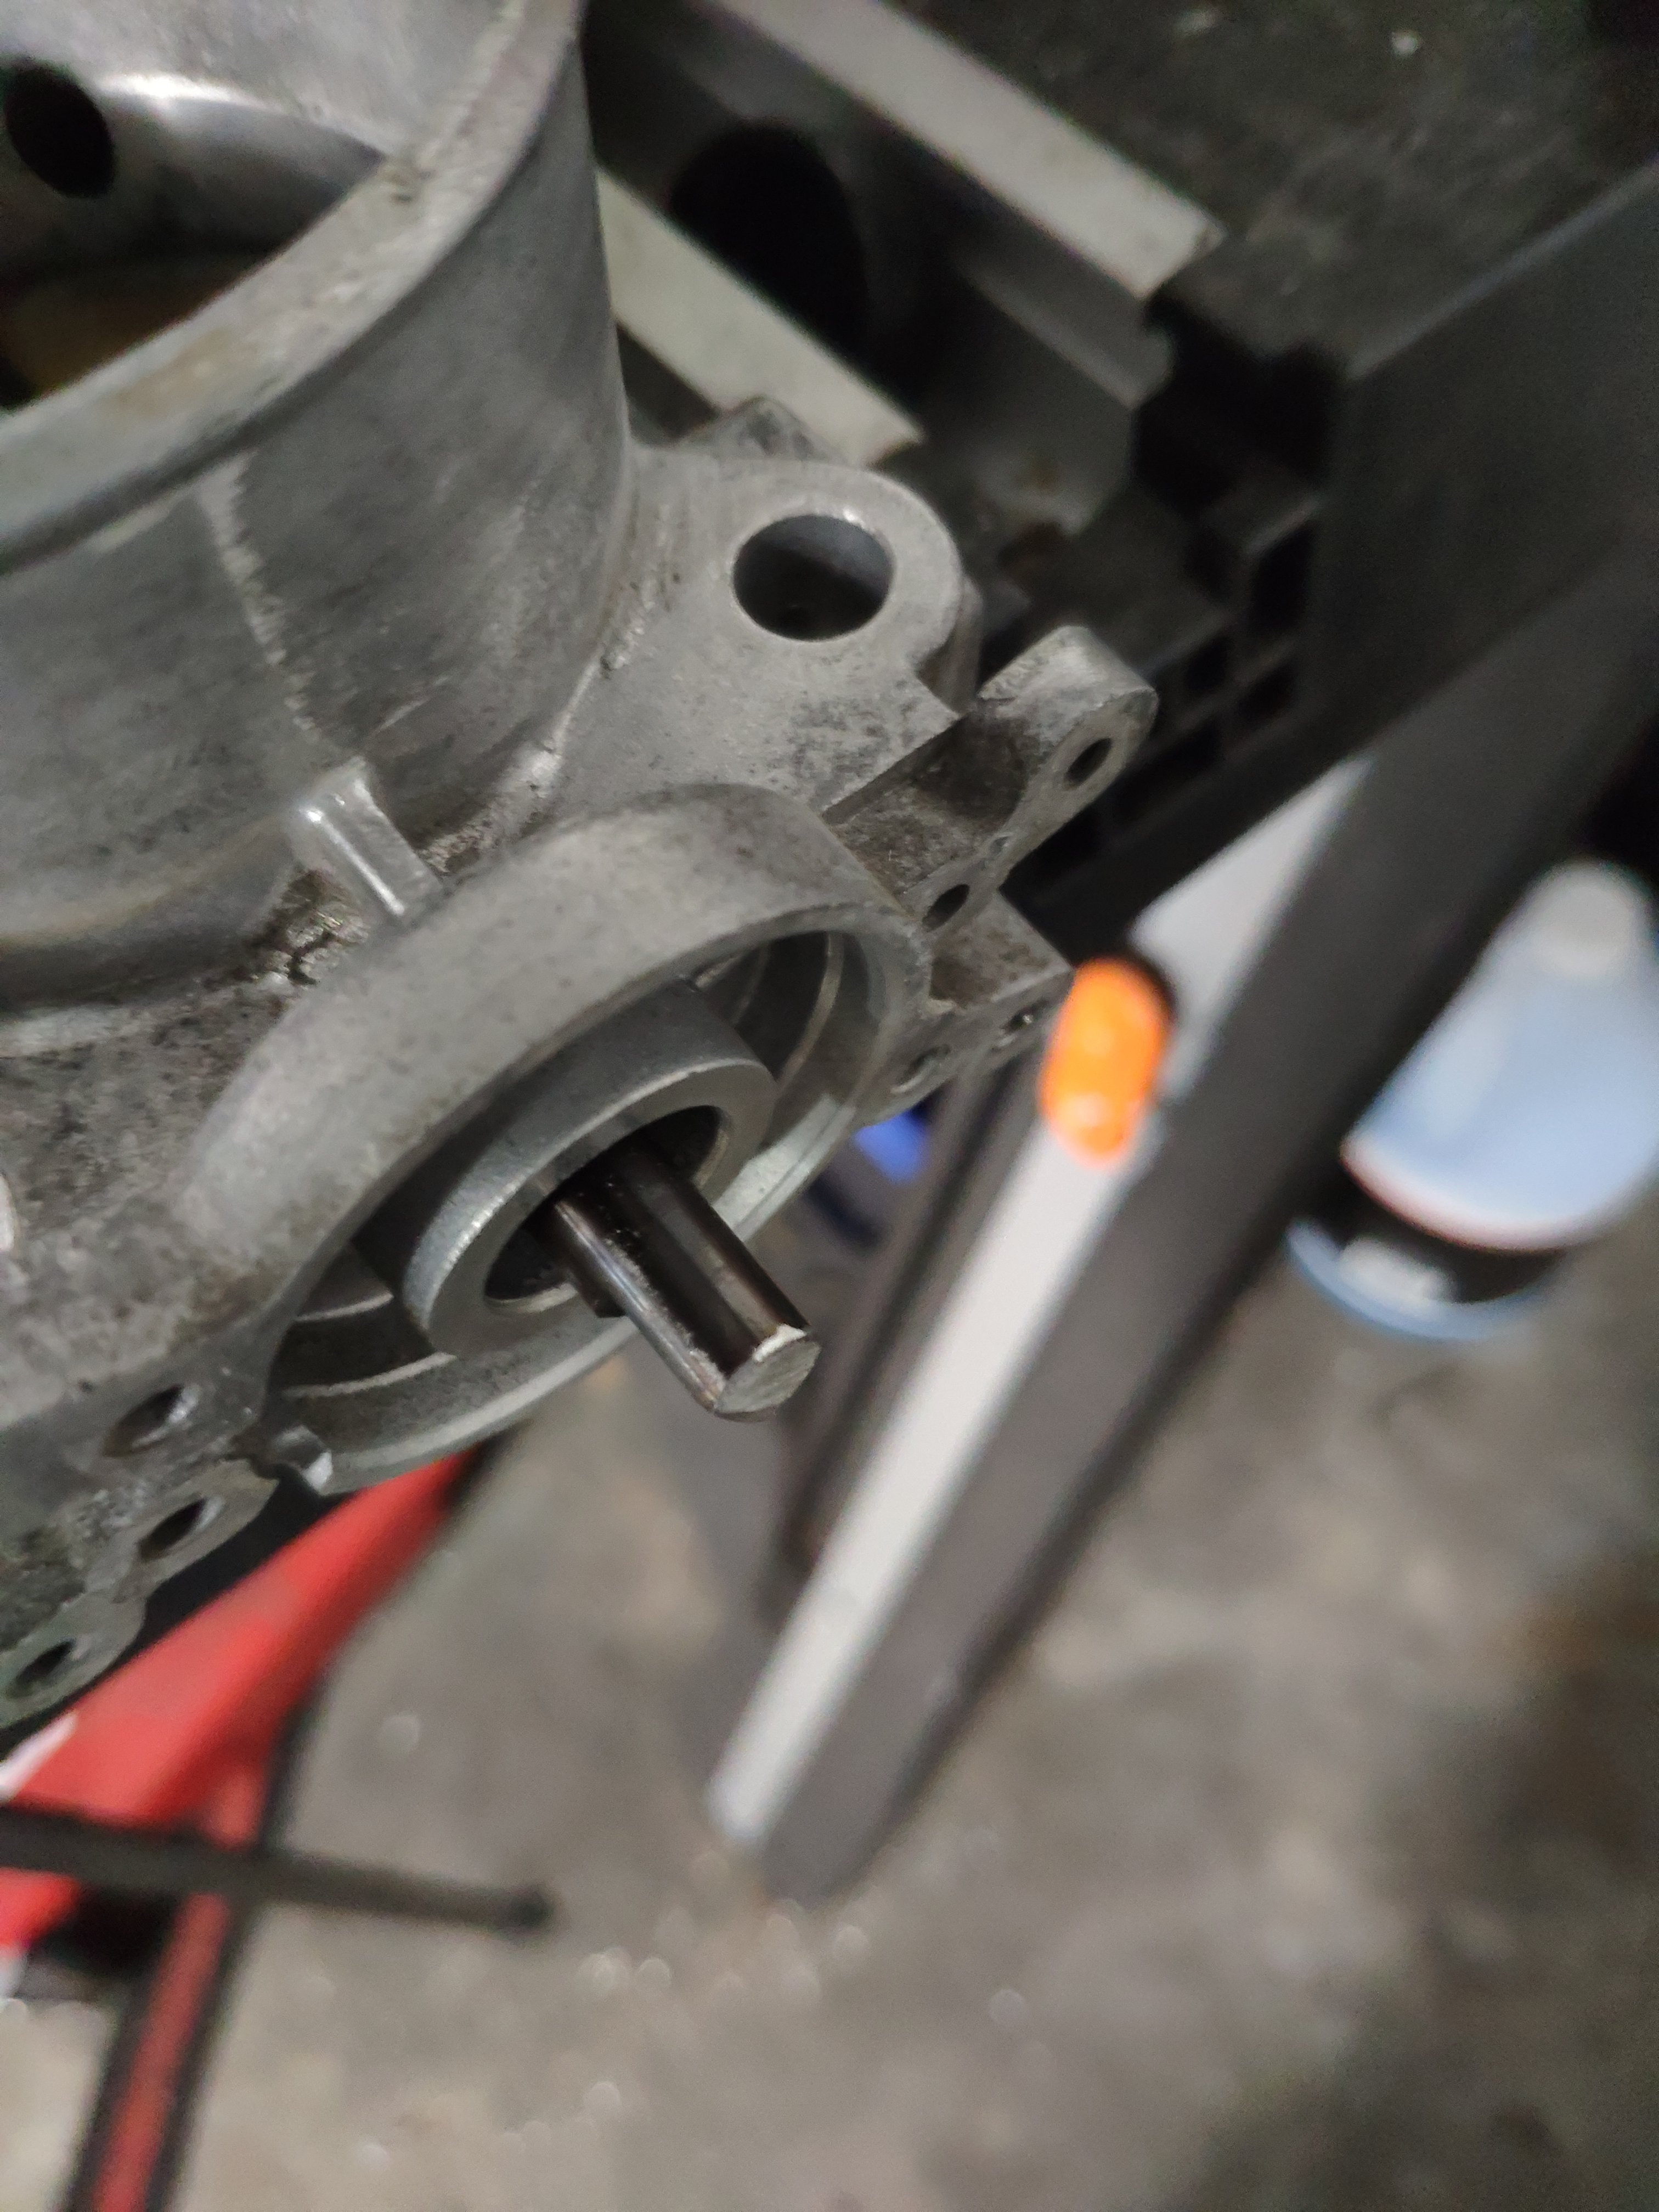
Before screwing everything together, make sure that the sensor fits flush with the adapter and that you took enough of the shaft off.


Designed by: nickallain

You may also like